A truss rod helps control the lengthwise curve of a guitar’s neck. On guitars with an adjustable rod, an adjustment changes the amount of neck relief: the slight forward curve that gives vibrating strings clearance above the frets.
Changing string gauge or tuning, or a change in temperature or humidity, can affect relief. Recheck the neck after a change; an adjustment may not be needed.
Guidance source-checked on 2 November 2026. The original photographs are retained; the neck-curvature diagrams were redrawn as SVGs.
What the rod changes
String tension pulls on the neck. An adjustable truss rod lets you alter the neck’s response to that pull. Designs differ: some rods act in one direction, while dual-action designs can adjust the neck in either direction. Identify your guitar’s system from its manufacturer’s instructions, rather than from a photograph of a separate rod.


Relief and action are related measurements. Relief describes the neck’s curve; action is the height of the strings above the frets at a specified point. Nut slots, the bridge or saddle, fret condition and neck angle also affect how a guitar plays. High action or buzzing alone does not tell you to turn the truss rod.
In these side-view diagrams, the dashed line is a straight reference above the solid neck profile. The curves are exaggerated for comparison; they do not give relief measurements or adjustment directions.
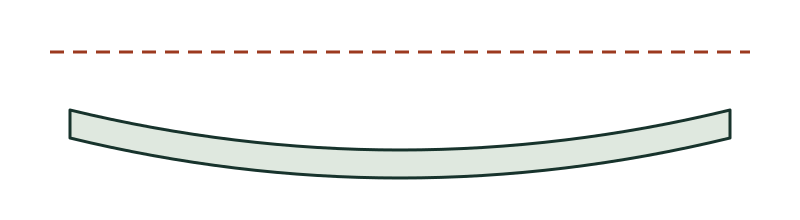
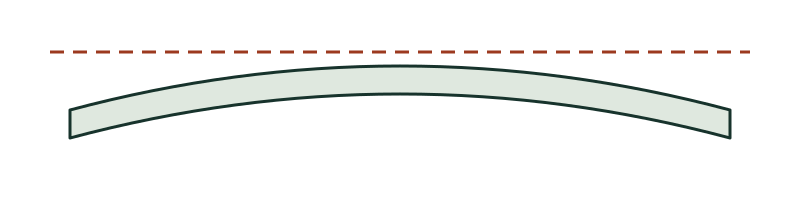
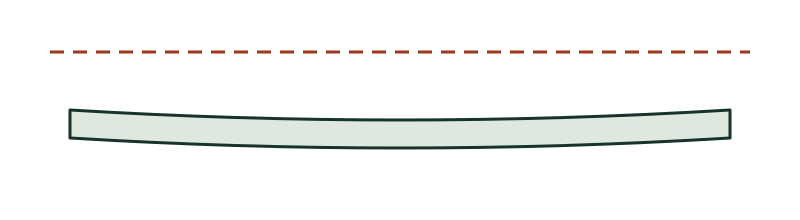
Check relief before adjusting
Find the setup instructions for your exact model. They should tell you which frets to hold, where to measure, the target gap, and how to support and tune the instrument during the check. Use a feeler gauge if the instructions specify one.
The usual principle is to hold a string against two frets so it acts as a straight reference, then measure the gap between that string and a fret in between. The details vary. For example, Fender’s Stratocaster guide uses the first and last frets and measures at the eighth; Taylor’s guide uses the first and fourteenth frets and measures at the sixth. Their specifications should not be transferred to every guitar.
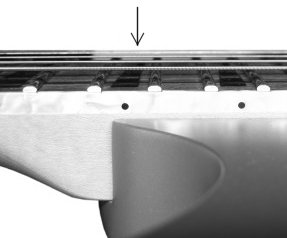
Record the gap before making any change. A gap that appears absent can indicate a straight neck or back-bow, but it is not enough on its own to decide which adjustment to make. Check the measurement method and your model’s target. If the relief is already within that guidance, investigate other causes of the playing problem.
Before turning the adjustment nut
If you cannot identify the rod, find the correct instructions or obtain the specified tool, ask a guitar repairer to check the instrument. A poorly fitting tool can damage the adjustment nut.
Access may be at the headstock, the heel or elsewhere, and the tool may be a hex key, nut driver or another specified tool. Some procedures require removing parts or loosening strings; others require the guitar to remain at playing tension. Taylor, for example, specifies normal playing tuning while adjusting its guitars. Follow your model’s procedure.
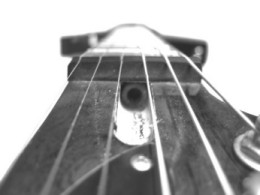
For many conventional rods, turning clockwise when looking directly into the adjustment nut reduces forward relief; turning anticlockwise allows more. Use those directions only when the manufacturer’s instructions confirm them for your guitar. Dual-action mechanisms and their neutral positions need their own guidance.
If the manual permits owner adjustment, use its specified small increment, then retune and remeasure as directed before deciding whether another change is needed. Keep a record of the starting measurement and each adjustment. Never force the nut or use extra leverage to overcome resistance.
Stop and consult a repairer if you meet excessive resistance, the tool slips, the adjustment has no effect, the guitar needs frequent adjustment without settling, or you are unsure what to do next. Buzzing can also come from playing technique, a low nut slot, uneven frets, the bridge or loose hardware. A truss rod adjustment will not correct all of these problems.
Manufacturer guidance
- Fender: setting up a Stratocaster — relief measurements, different adjustment systems and stop conditions for those models.
- Taylor: truss rod adjustments — Taylor’s measuring method, tuning and tool requirements.
For other setup checks, return to the guitar setup guides.